Hello Zcash Enthusiasts!
I’ve put together a comprehensive guide to Zkool Wallet — a modern and intuitive wallet built specifically for Zcash, offering a seamless experience for both new and experienced users. In this step-by-step tutorial, I walk you through everything you need to know: setting up a new wallet, sending both shielded and transparent transactions, using a temporary burner wallet, and restoring your seed.
ZKool is a high-performance, non-custodial cryptocurrency wallet for Zcash, built as the successor to YWallet. It’s designed for users who want control and privacy, supporting all Zcash features including shielded transactions, and offering fast syncing through the Warp Sync algorithm. Key features include instant shielded address generation, multiple account support, and advanced coin control.
Using real funds across multiple wallets, this guide breaks down the core features in a simple, approachable way, making it easy for beginners to follow along.
Before we start, right after installing the wallet you may see a “locked screen”. This is a security prompt letting you know that you need to set up a Windows PIN before you can use the wallet.

1. Setting Up a New Account
In this chapter, we’ll go through the process of creating a fresh wallet and securing your recovery seed. It’s crucial to note that if you lose the seed, your funds are irretrievable. This step will guide you in writing down your seed phrase and help you get comfortable with the wallet interface.

Now choose an Account Name. If you want to keep your transaction list cleaner and avoid seeing extra change transactions, turn on Use Internal Change. This option exists because wallets often create small change outputs, and internal change keeps them hidden so your history stays tidy. The Restore Account option is only used later if you need to recover your account.

This screen is for setting up Distributed Key Generation (DKG). It’s the feature that lets multiple people work together to create a shared key, so no single person has full control.
-
Number of Participants: How many people are part of this DKG session.
-
Your Participant ID: Your slot number in the group.
-
Number of Signers Required (Threshold): How many people need to sign for the group to approve anything.
-
Funding Account for the DKG messages: These DKG steps send a few small on-chain messages, so you choose which account pays the tiny fees.
But since we’re just creating a normal single-user account right now, you won’t be using this feature. You can skip it and continue — the wallet handles everything else.

In the next step, you’ll see your SEED PHRASE. This is extremely important — make sure you write it down and store it somewhere safe. If you lose your seed phrase, you can lose access to your funds.

That’s it! You can see your new account on the screen.
(Note down the Height number appearing at the moment you create the account — it can be used for restoring the account.)

2. Sending to an Orchard Address (Shielded Transaction)
ZEC has the special ability to share your funds privately. Orchard addresses (start with u) keep everything private — sender, receiver, and amount are hidden on-chain.
I sent ZEC from my main wallet to my secondary one, fully shielded.
Go to your home screen and select the account you want to receive ZEC. On the screen, you’ll see the Receive Funds icon — click it.

After clicking Receive Funds, you can see every address of your account. Zkool provides both the addresses and their QR codes. Choose your preferred one — here, we select the Orchard-Only Address.

Now go to your main (sender) account and click the Send Funds icon.

Next, enter the details such as the address, amount in ZEC, and a MEMO (Memos only appear with Orchard transactions).

Zkool also provides some extra options:
-
Source Pool: Choose where your funds are stored.
-
Recipient Pays Fee: Lets the receiver pay the network fee.
-
Discard Dust Change: Decides whether to discard tiny leftover change. Turn it off if you don’t want any amount wasted.
Click the send icon and confirm your transaction.

You’ll now see that the transaction was broadcast successfully. Go back to check if it arrived.

It’s done — we’ve received funds in the secondary account.

3. How to Transfer to a Transparent Wallet
Not everything has to be private. Transparent addresses (start with t) behave more like Bitcoin — all details are visible on the blockchain.
For this transaction, we again go to the Receive Funds section of the receiving wallet and copy the transparent address.

Now open the sender’s wallet and go to Send Funds. Enter the details of the receiving account and hit send.

Since I had funds in the Orchard pool, I chose Orchard as the source. If you want a purely transparent transaction, you can select your transparent pool instead — Zkool places no limitations here.

Hit the send button, and your transaction will be broadcast successfully.

That’s it. Go back to your receiving account — the funds should be there.

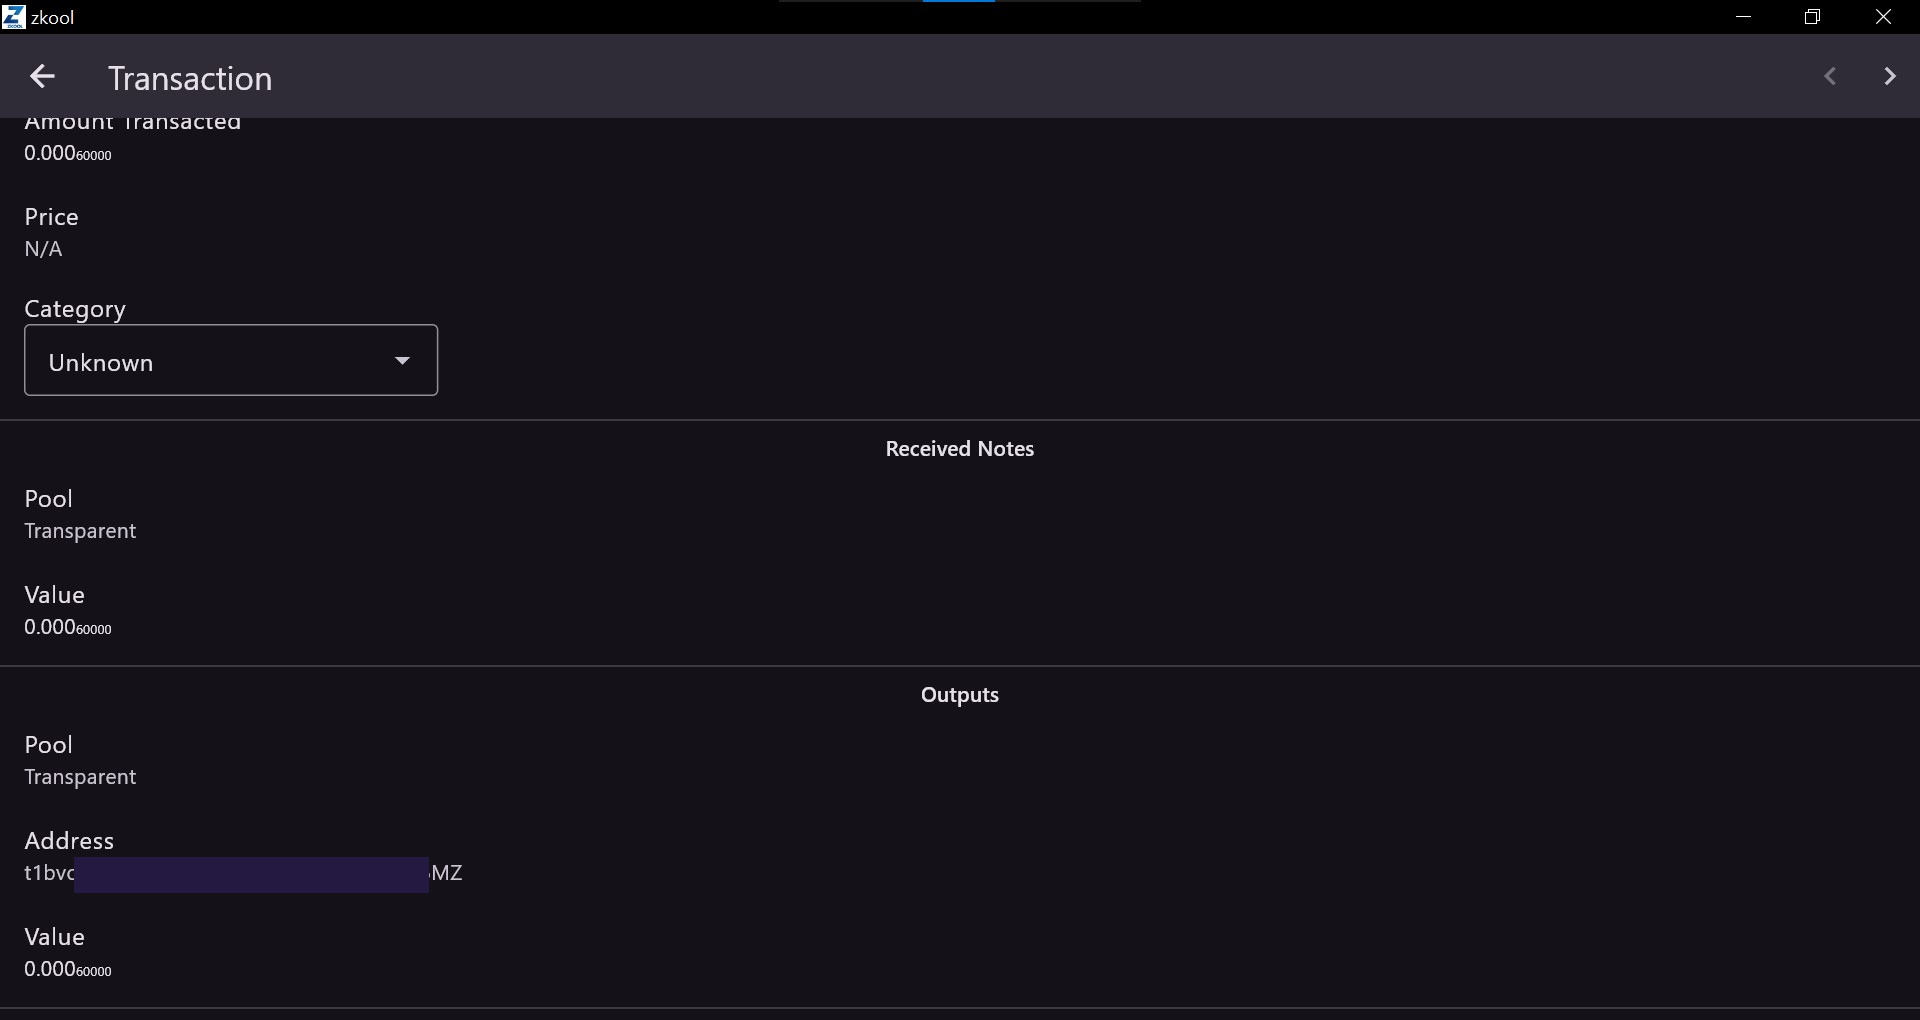
You can also click on the transaction to get more info about the outputs.
4. Burner Transparent Address Send
This is a privacy trick that makes your transparent transactions much more secure and almost untraceable. I created a brand-new account (“BurnerWallet”), sent funds to its transparent address, and then sent them to my main account. This helps break the link between addresses.
To begin, create a new account the same way as before by clicking the + icon in the top-right corner. Don’t forget to save the seed words for recovery.

The account has been created. Now follow the previous steps to copy the transparent address of the BurnerWallet.

After copying the transparent address from the BurnerWallet (receiving account), go back to the Secondary account (sender) and enter the transaction details.

After the successful transaction, you’ll see the funds in your temporary BurnerWallet.

Now that we have funds in the burner account, go to your main account and copy its transparent receiving address. This will be used to send the funds from BurnerWallet.

That’s it. After approving the transaction, the funds will appear in your Main account, even though they originally came from your secondary account — but now without an easily traceable path.

5. Restoring Wallet from Seed
(Never share your seed. Anyone with it can restore your wallet and access your money.)
Now let’s test the final backup method — restoring your wallet using the seed phrase.
Since we already saved the seed during account creation, we’ll install Zkool on our phone to test restoration. Install Zkool from the Play Store or any legitimate source. Click the + icon to add an account, turn on Restore Account, and enter your seed phrase. Also keep a note of your Birth Height, which we discussed when creating the first account — it can be used here.

After selecting the correct options, click Save, and that’s it. Your wallet is restored using the seed phrase.

That wraps up the full beginner tutorial on Zkool. I hope this post helps others understand how to actually use Zcash in a real, hands-on way!