Hey Zcash community!
I’ve just completed a hands-on walkthrough of Ywallet, the modern light wallet for Zcash, and I thought I’d share a clean, chapter-based tutorial for anyone looking to learn how to actually use it — from setup to sending shielded and transparent transactions, plus seed recovery and burner workflows.
This guide was created using real funds, across three different wallets, and covers the most essential operations in a logical, beginner-friendly way.
1. Creating a New Wallet
This chapter walks through creating a blank wallet and saving your seed. Super important — without the seed, your funds are gone forever. This is where you write down the 24 words and get familiar with the layout.
Steps:
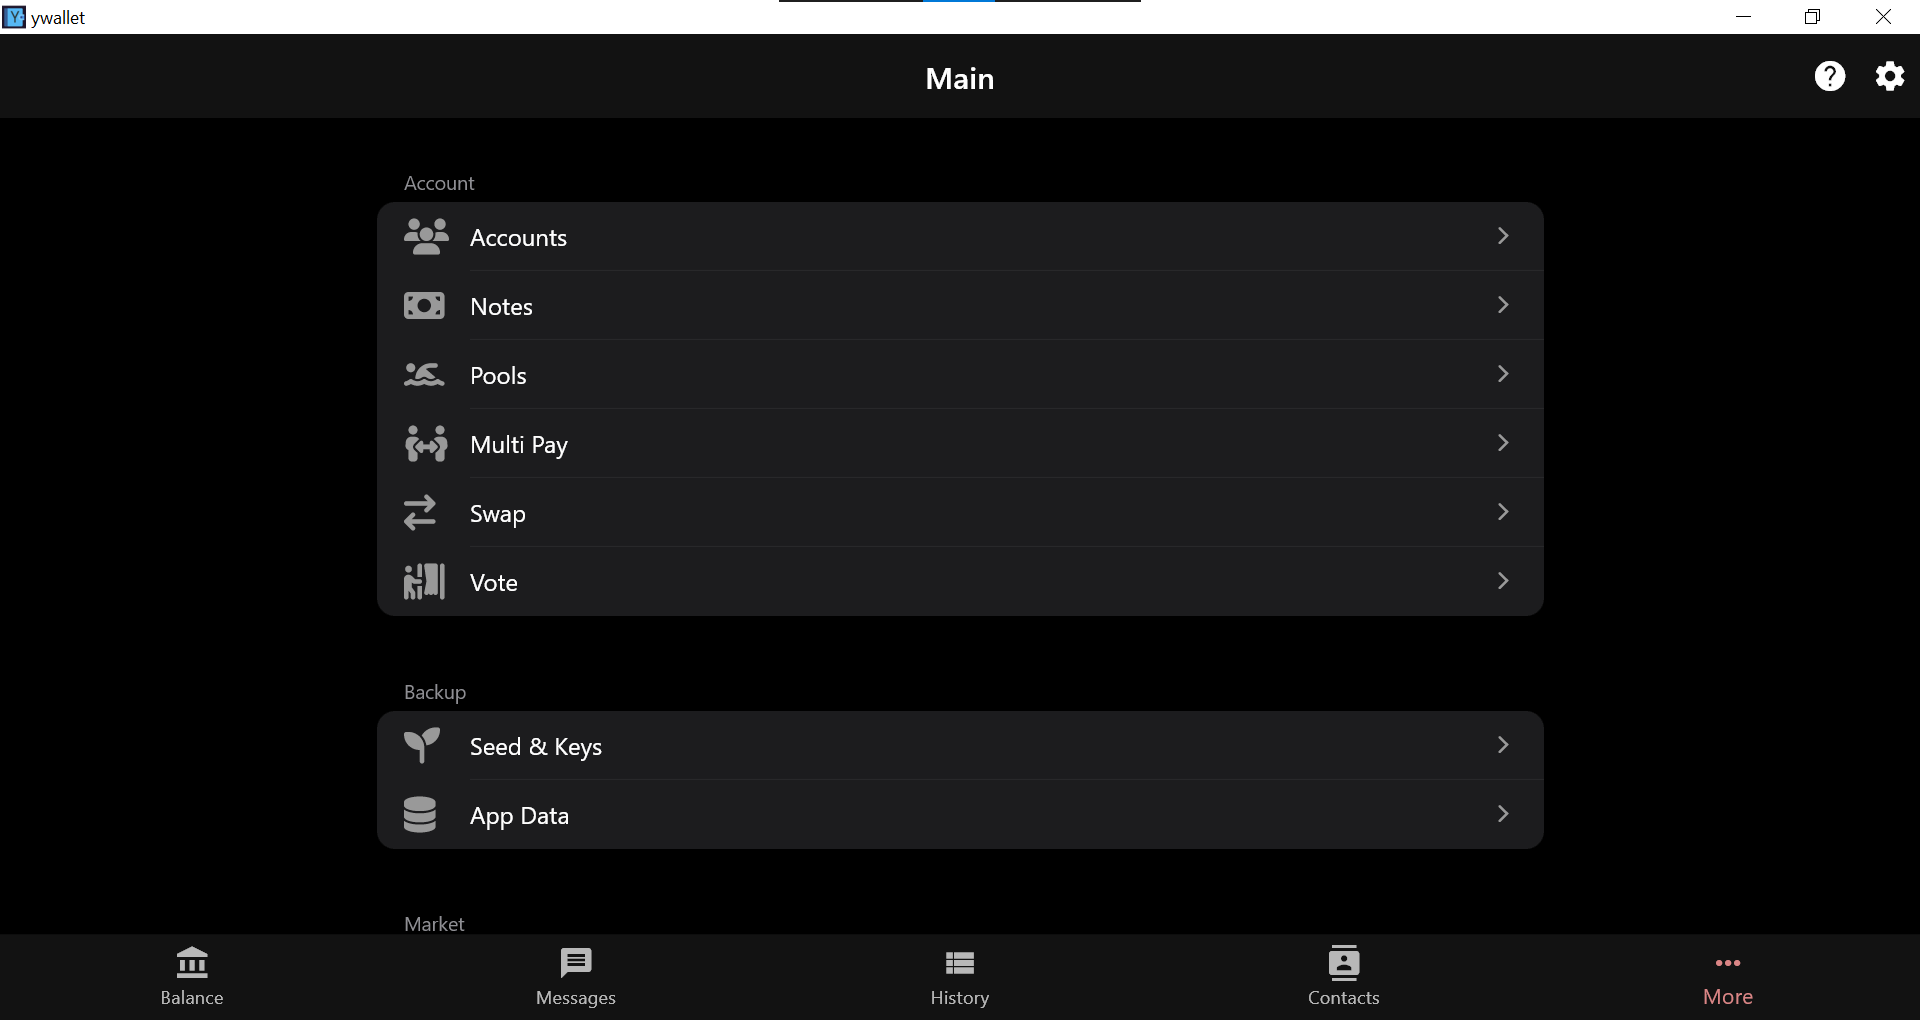
First we have our main wallet, and if we want to create another one, simply click on More
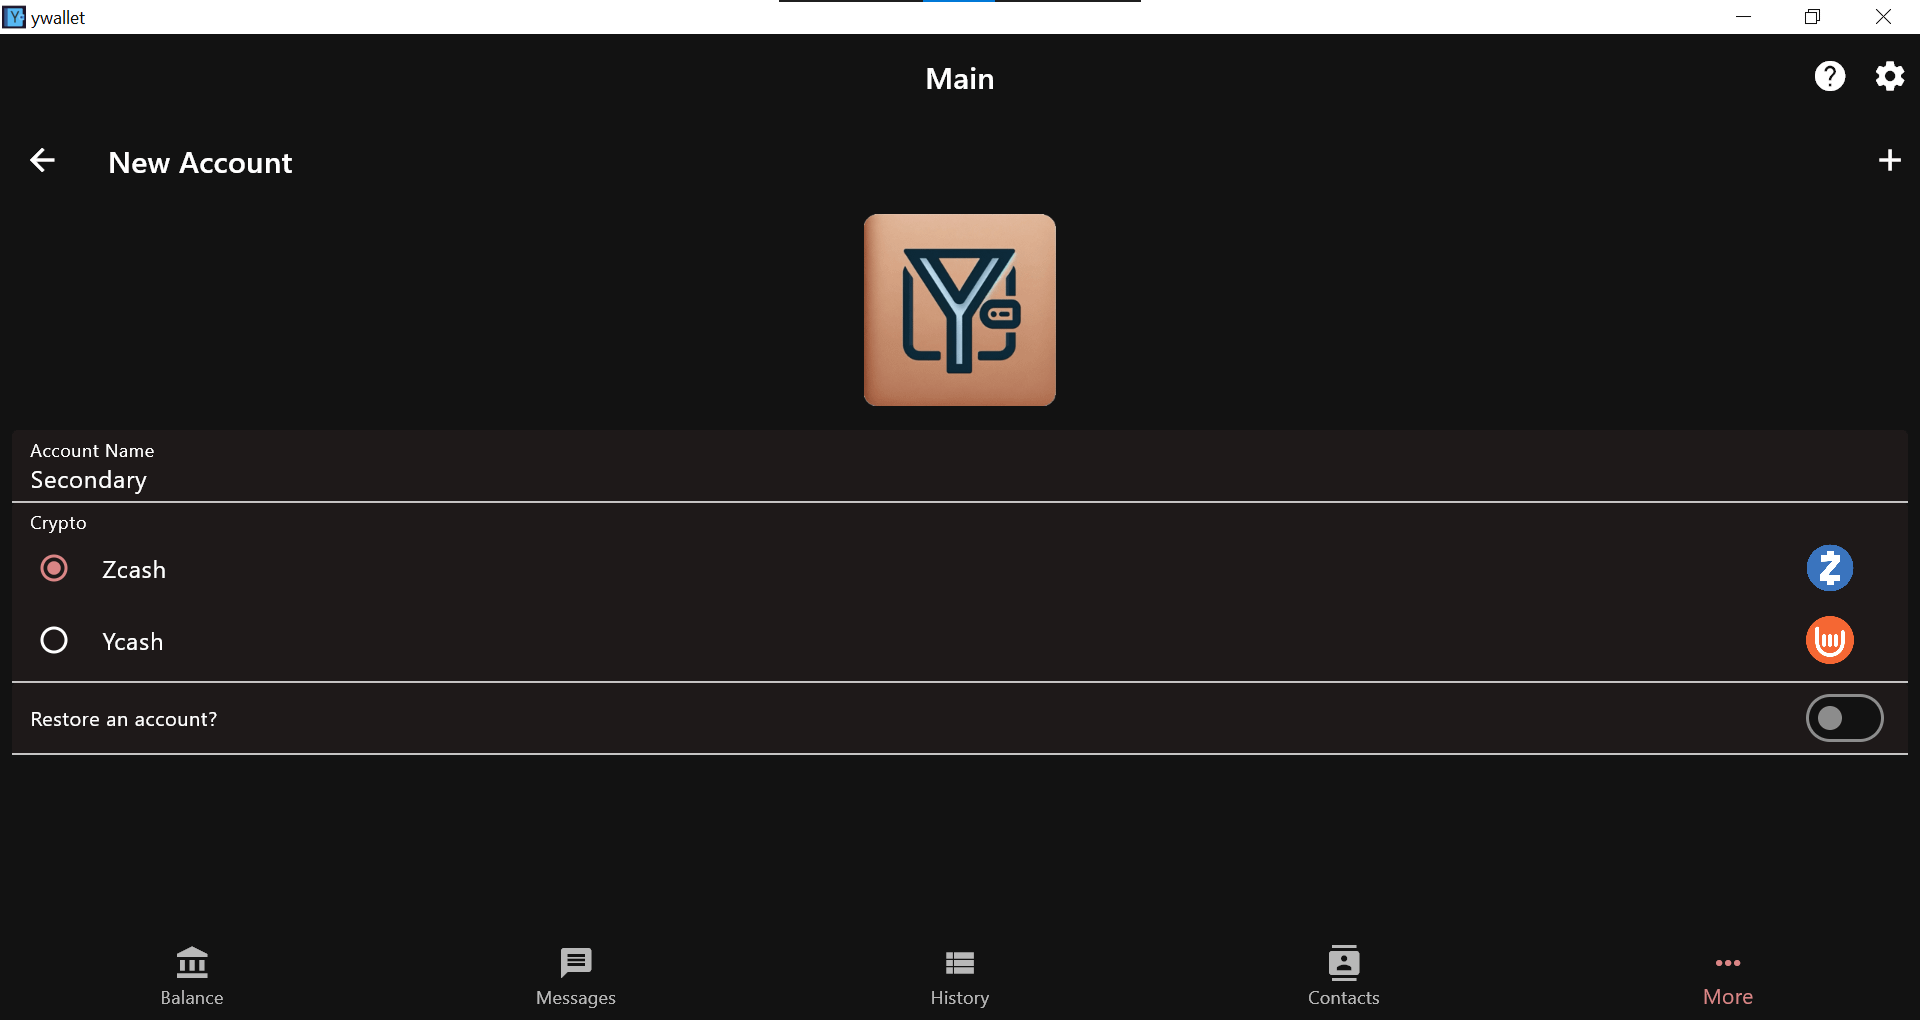
You will see the “Accounts” option. After clicking on it, you can see a “+” icon to add another account.
Choose the name and crypto preference and click the “+” icon again.
How to save your Ywallet Seed?
To save your YWallet from getting lost, you need to find and store your seed.
Click on More to get to Seed & Keys.
Here you will find your YWallet Seed, and you can generate the QR to save it.
That’s it — you now know how to add a new account and back up the seed in Ywallet.
2. Sending to an Orchard Address (Shielded Transaction)
This is where Zcash shines. Orchard addresses (start with u) keep everything private — sender, receiver, and amount are hidden on-chain.
I sent ZEC from my main wallet to my secondary one, fully shielded.
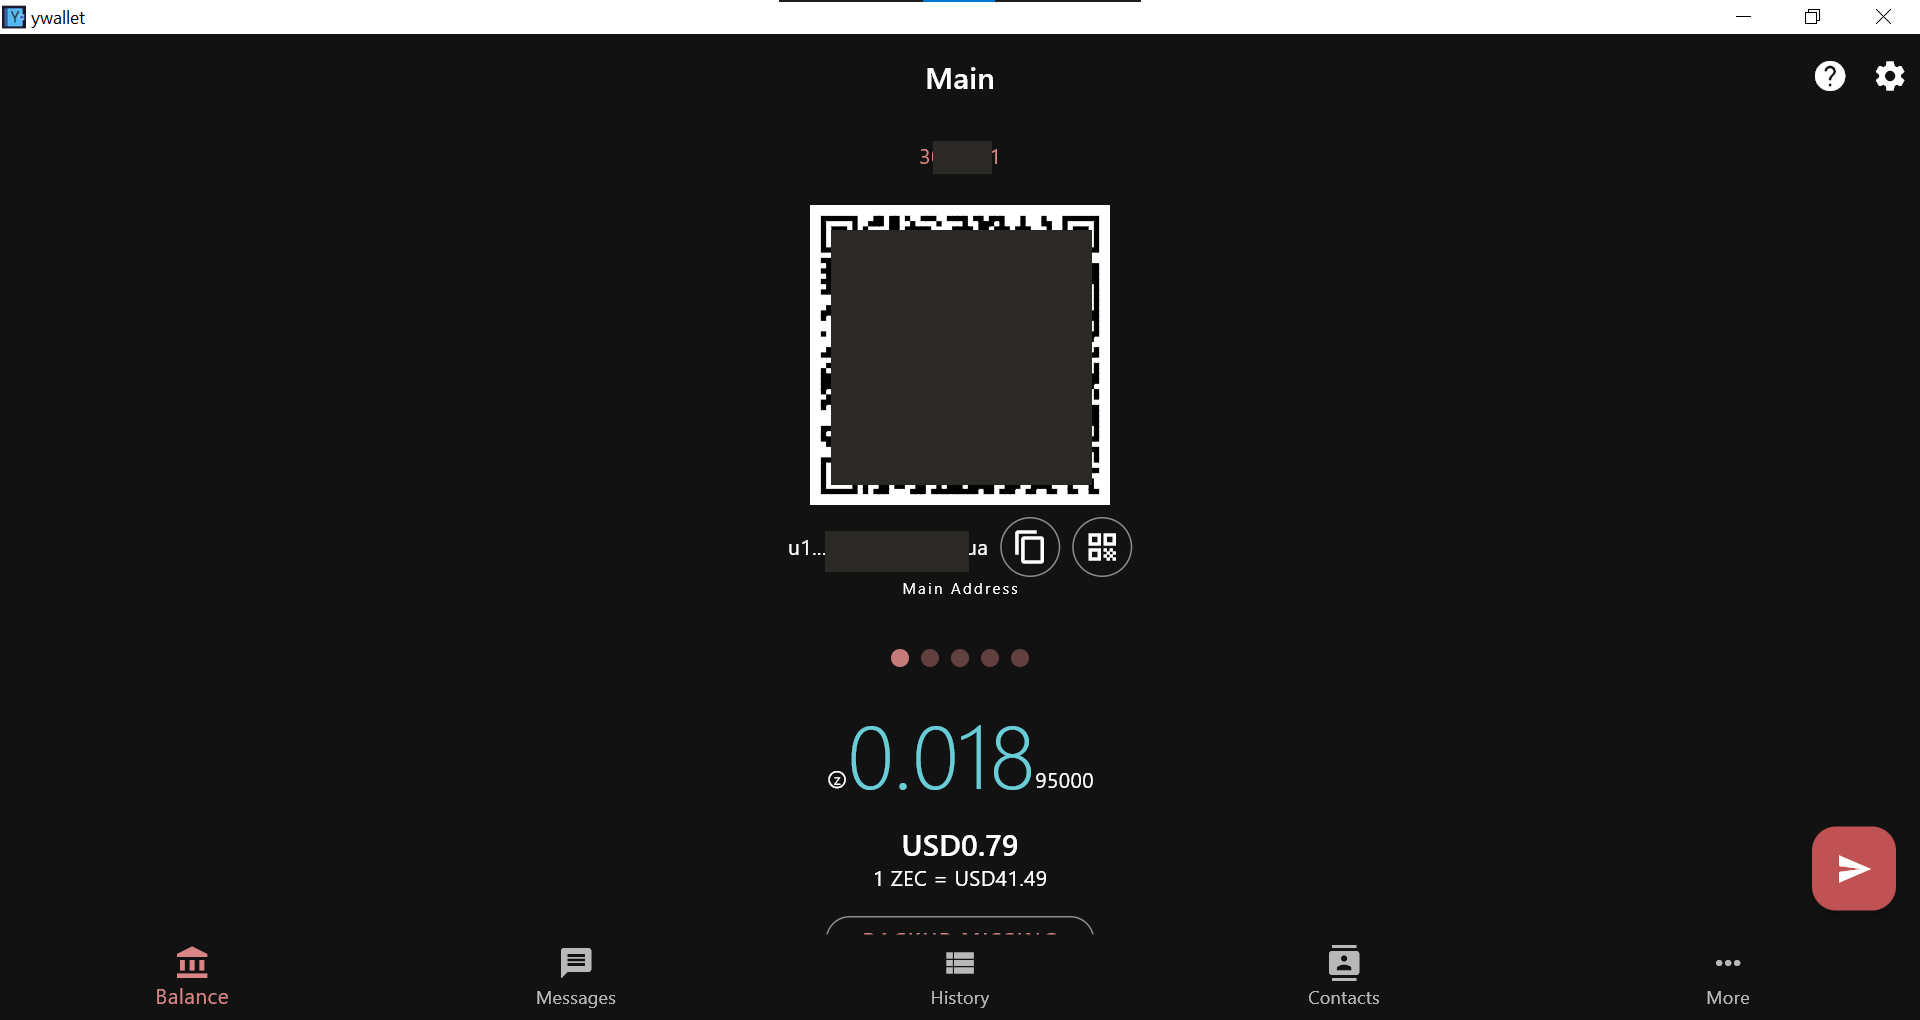
Copy the Orchard address (you’ll need to swipe left on the QR code view to get it).
Paste the destination Orchard address and enter the amount to send.
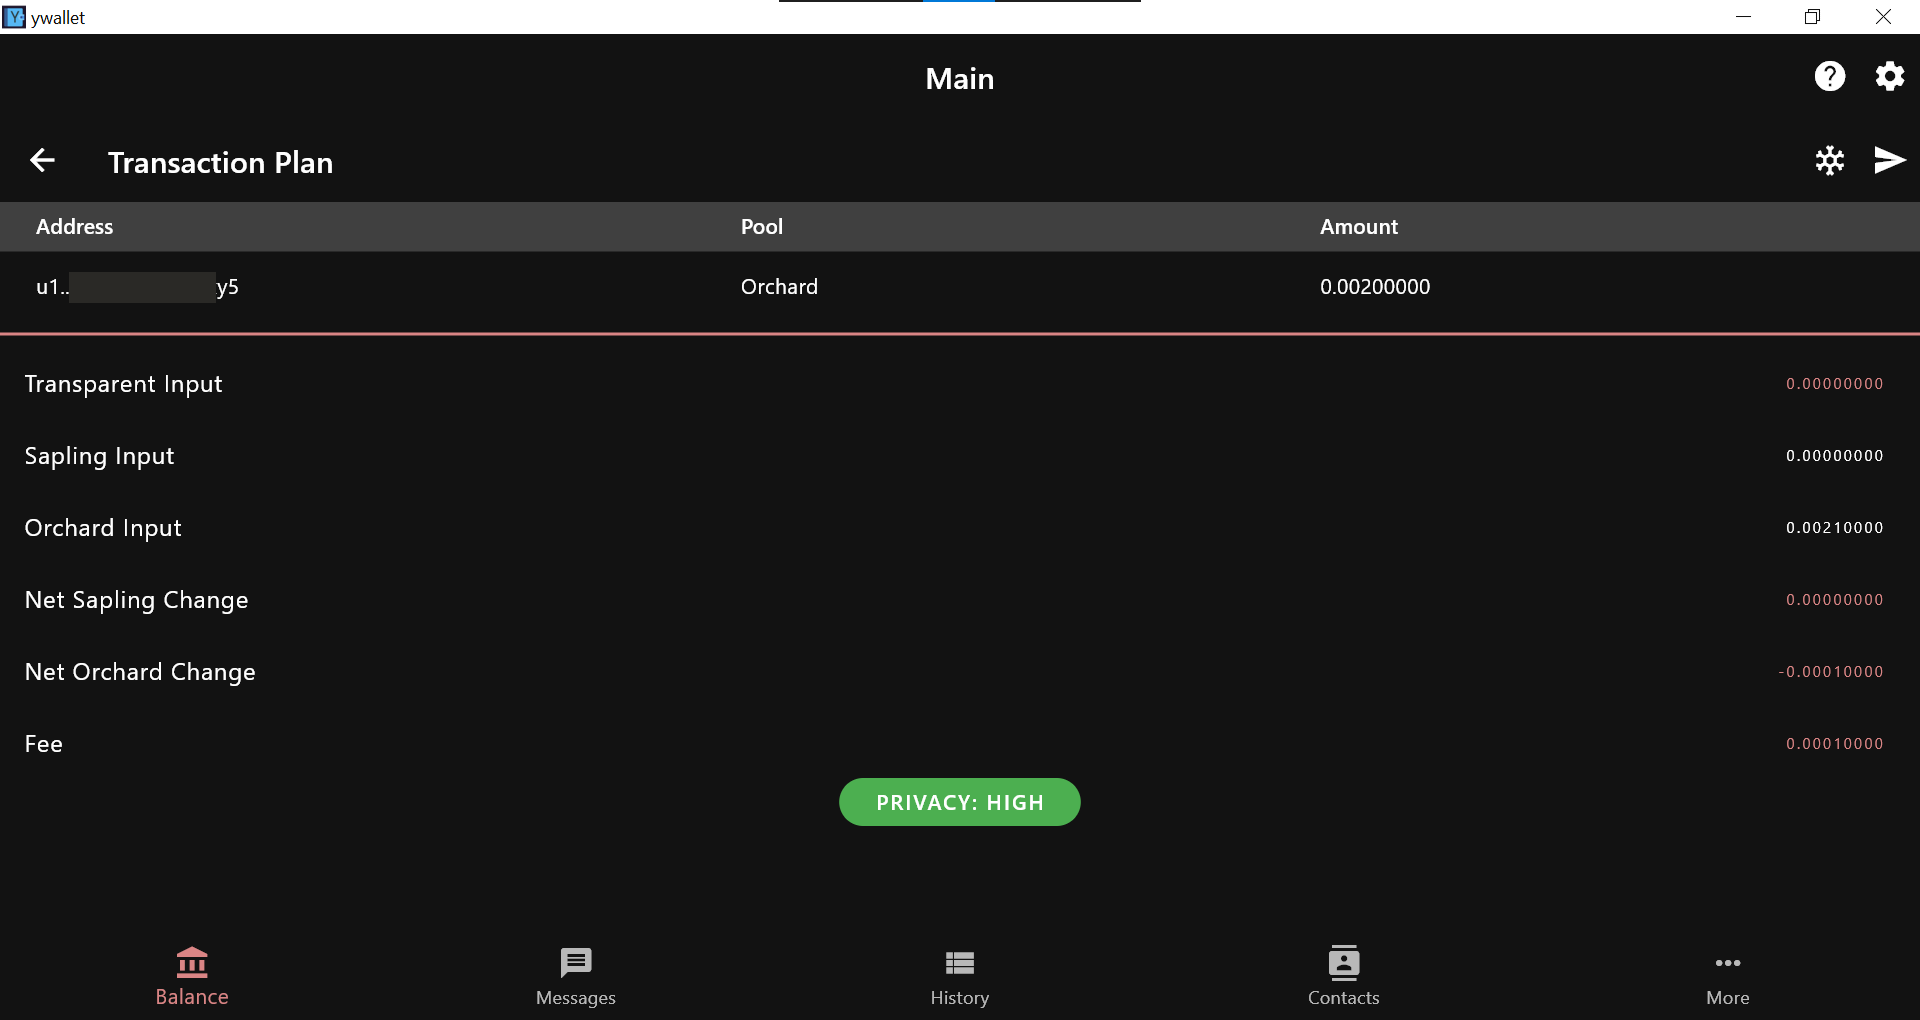
Confirm the transaction before sending.
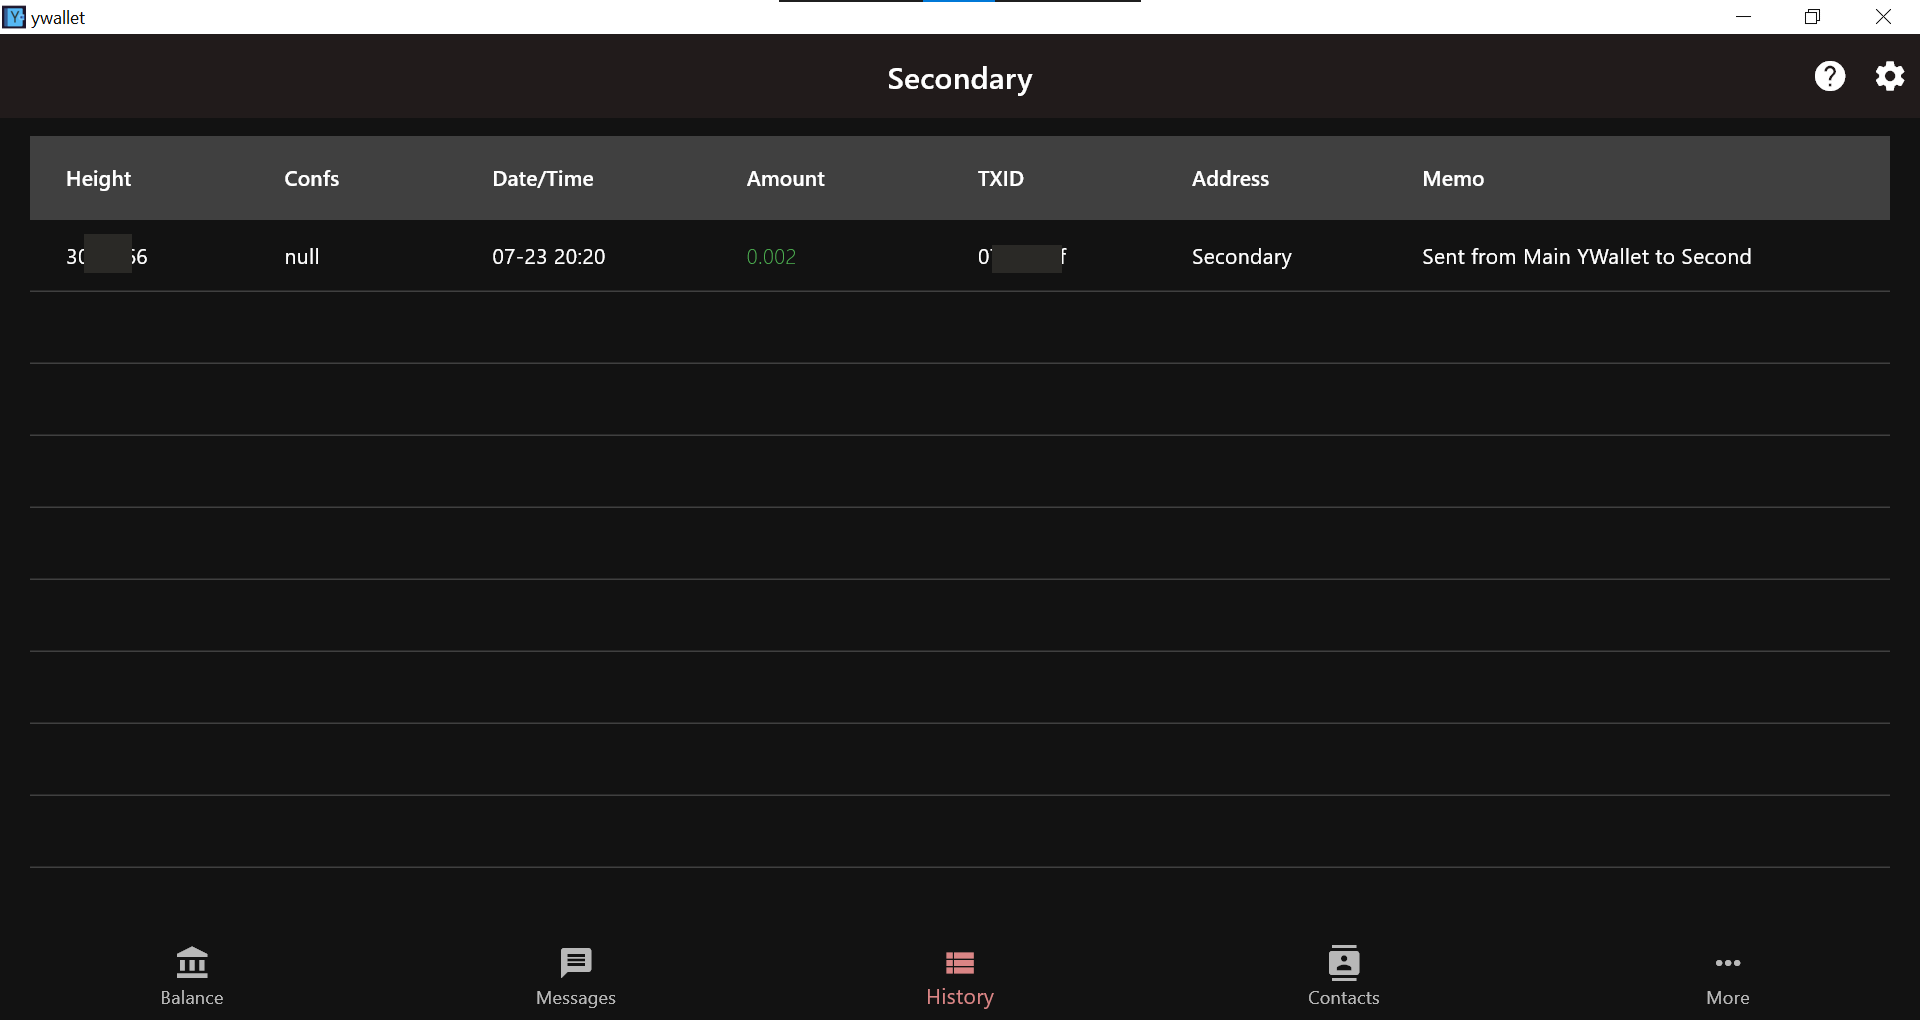
Now switch to the destination wallet and confirm receipt.
Check your transaction history.
3. How to Transfer to a Transparent Wallet?
Not everything has to be private. Transparent addresses (start with t) behave more like Bitcoin, and all details are visible on the blockchain.
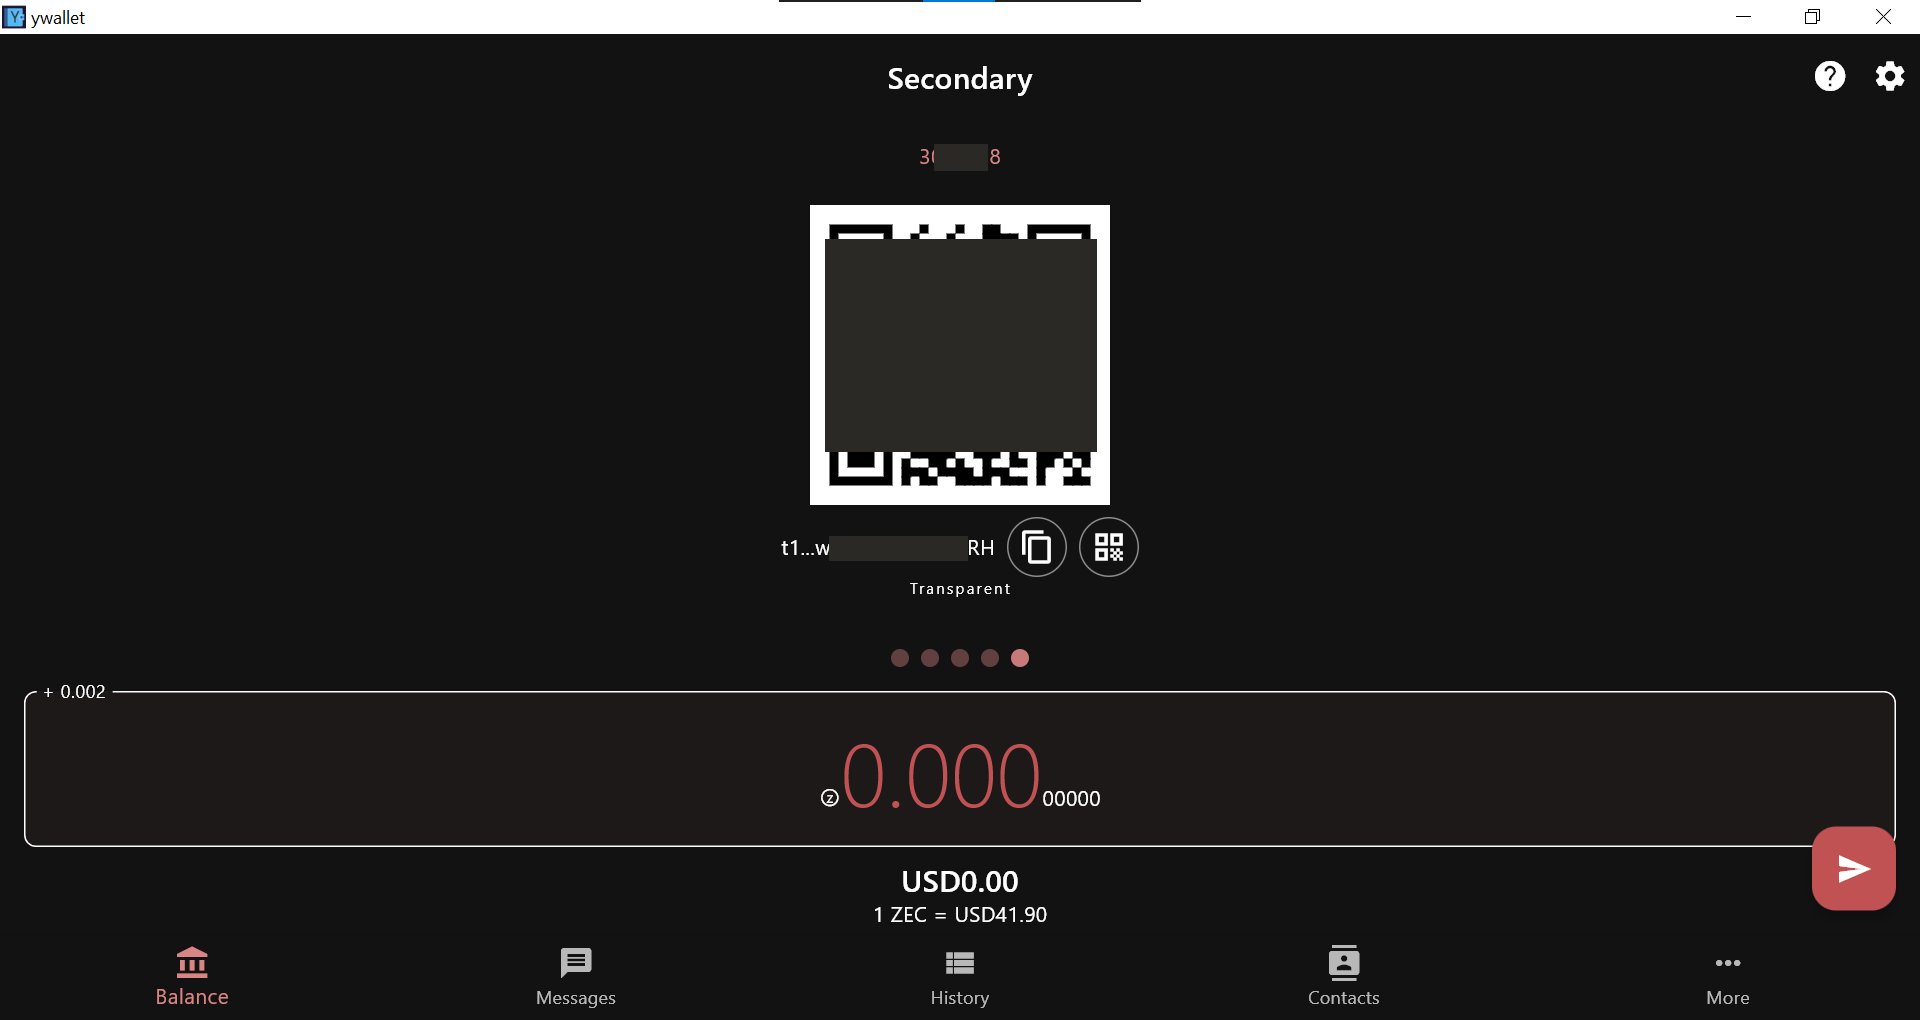
Open your destination wallet, swipe to get the transparent address, and copy it.
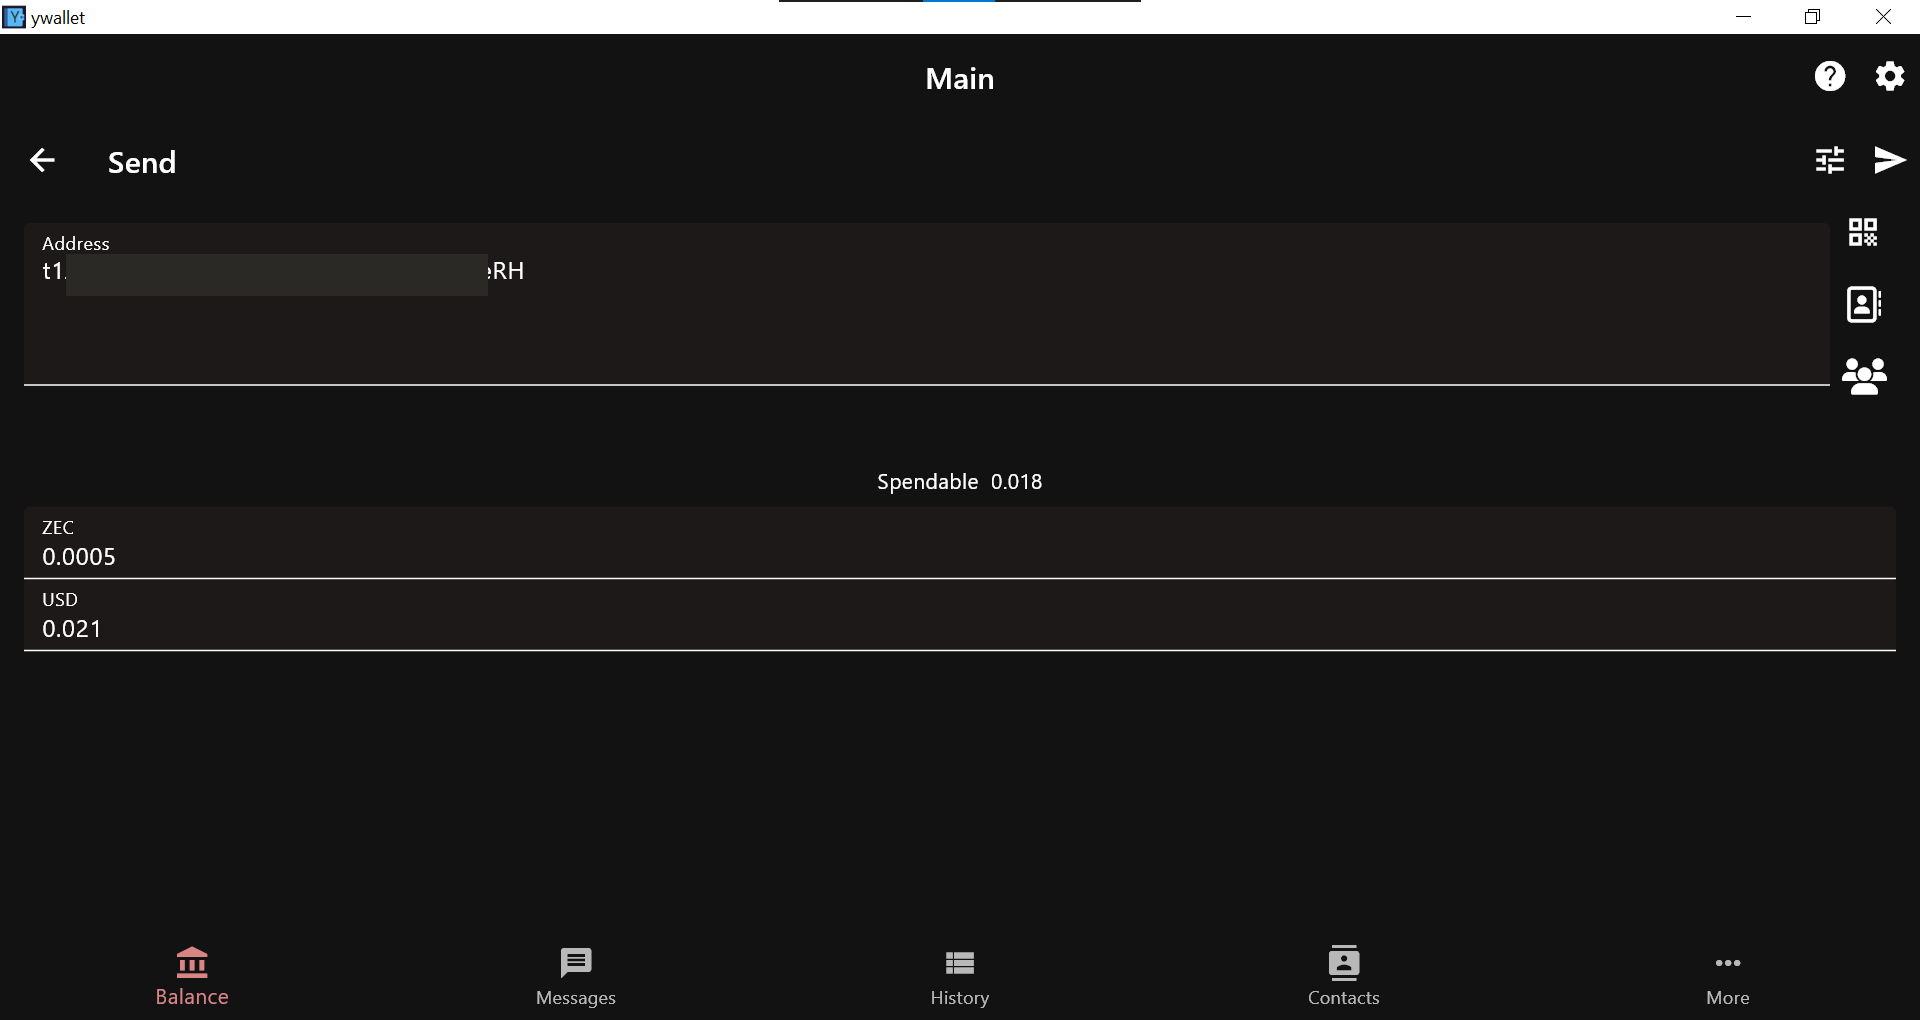
Go to your sender wallet and click the send icon. Paste the transparent address and enter the amount.
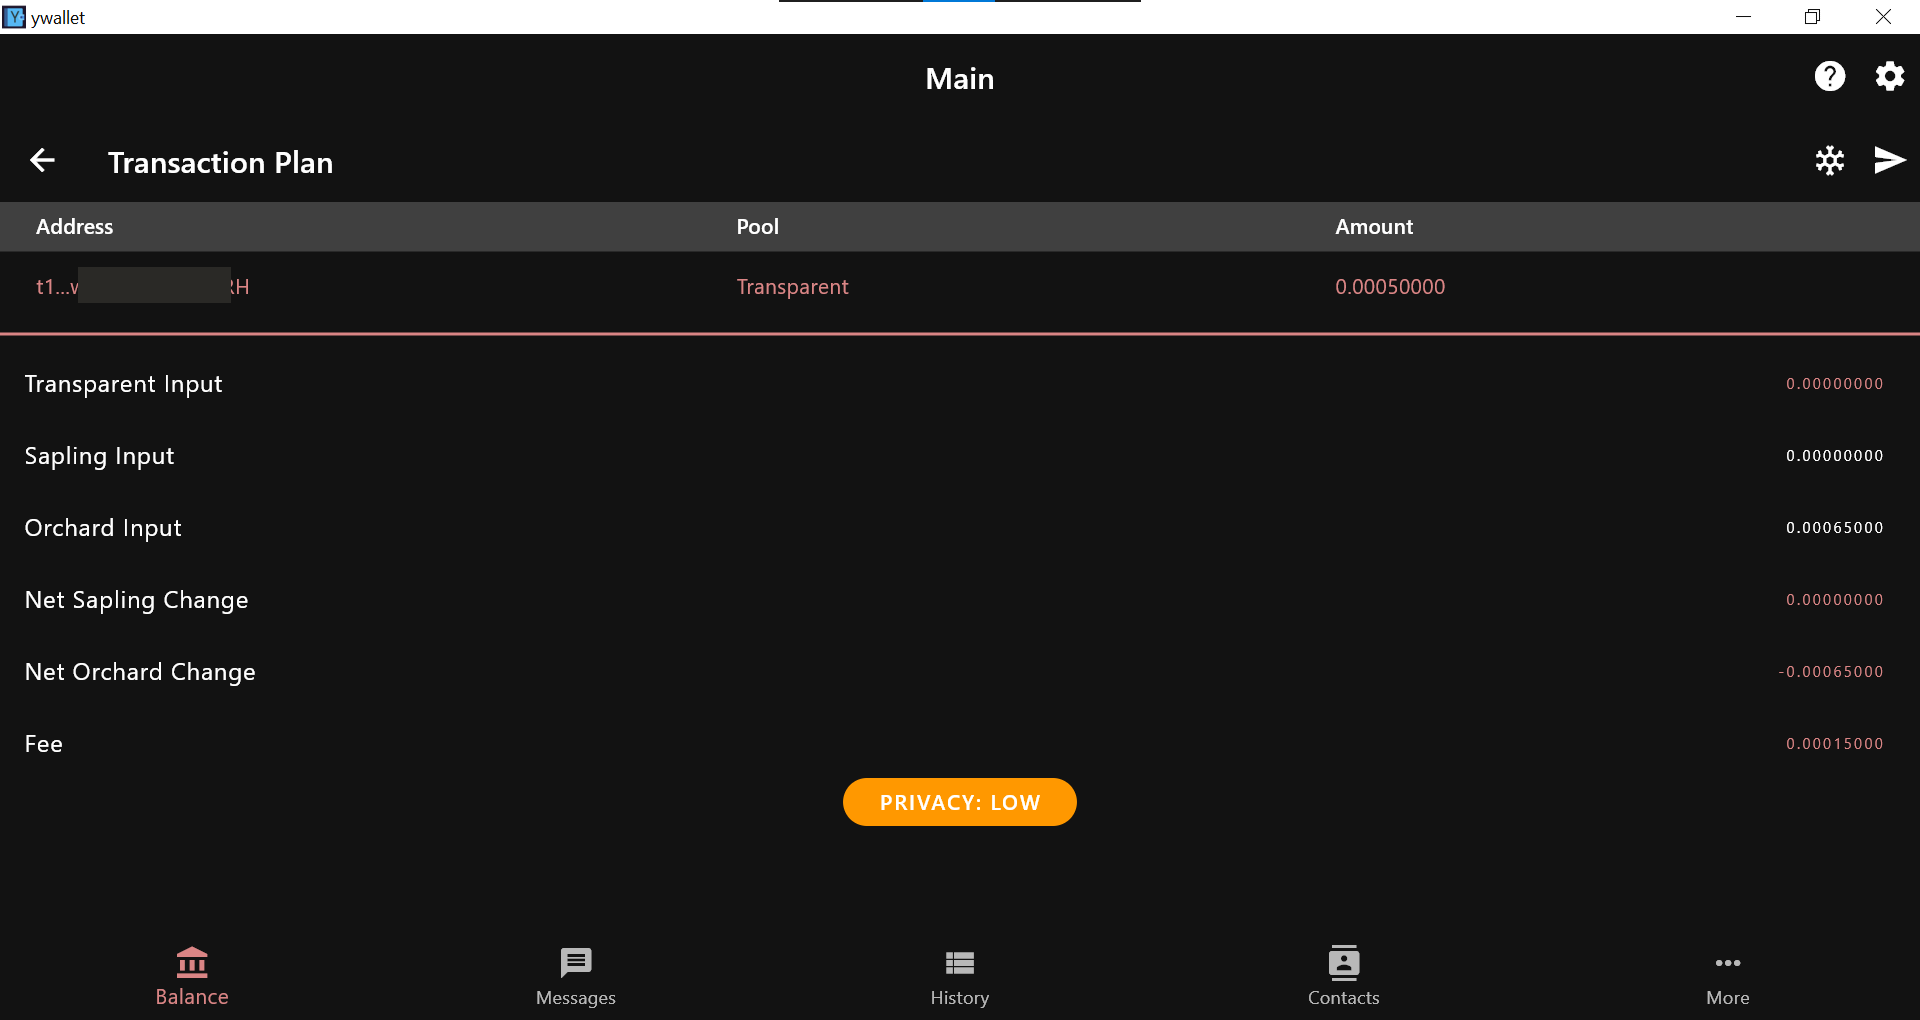
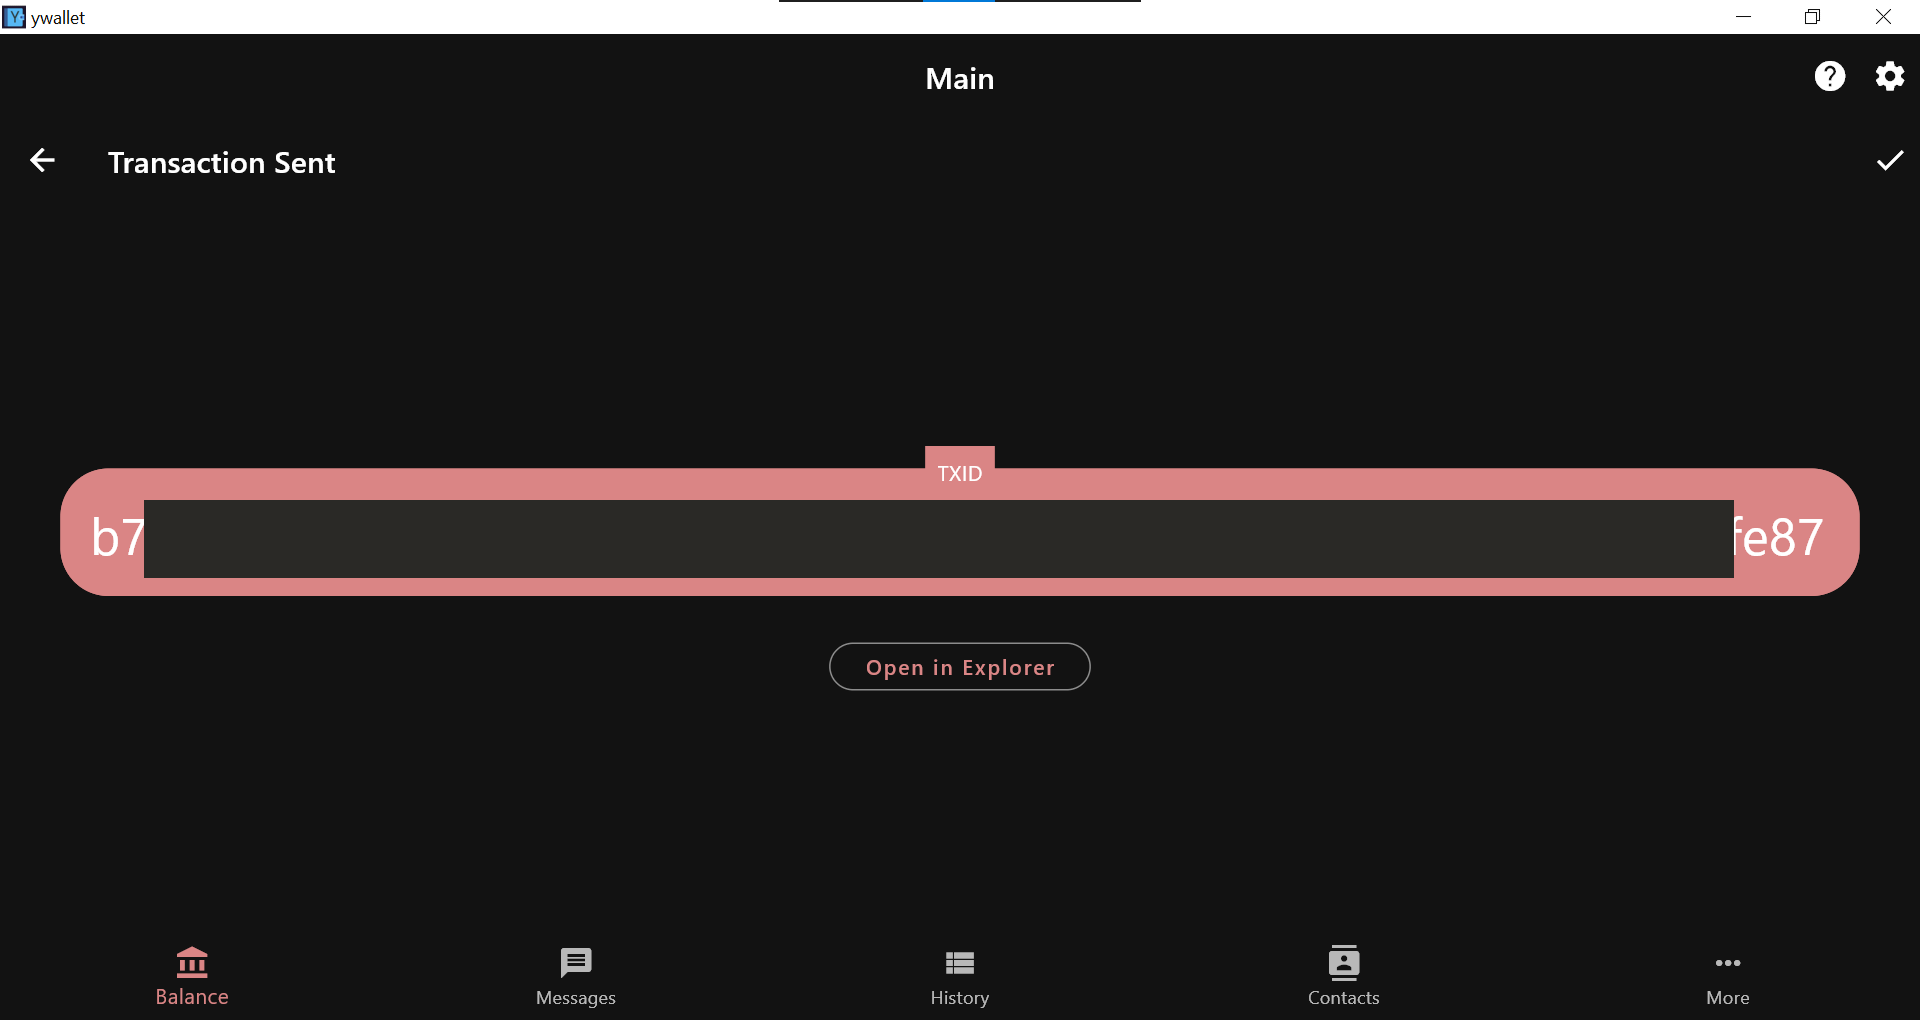
Double check and hit send.
It will show up in your destination wallet and history.
4. Burner Transparent Address Send
This one’s a privacy trick, I created a brand new wallet (a “burner”), sent funds to its transparent address, and then sent them to my main wallet. This helps break links between addresses. Basically, you can use an address to transfer ZEC without it being traced.
To begin, create a new wallet the same way as before.
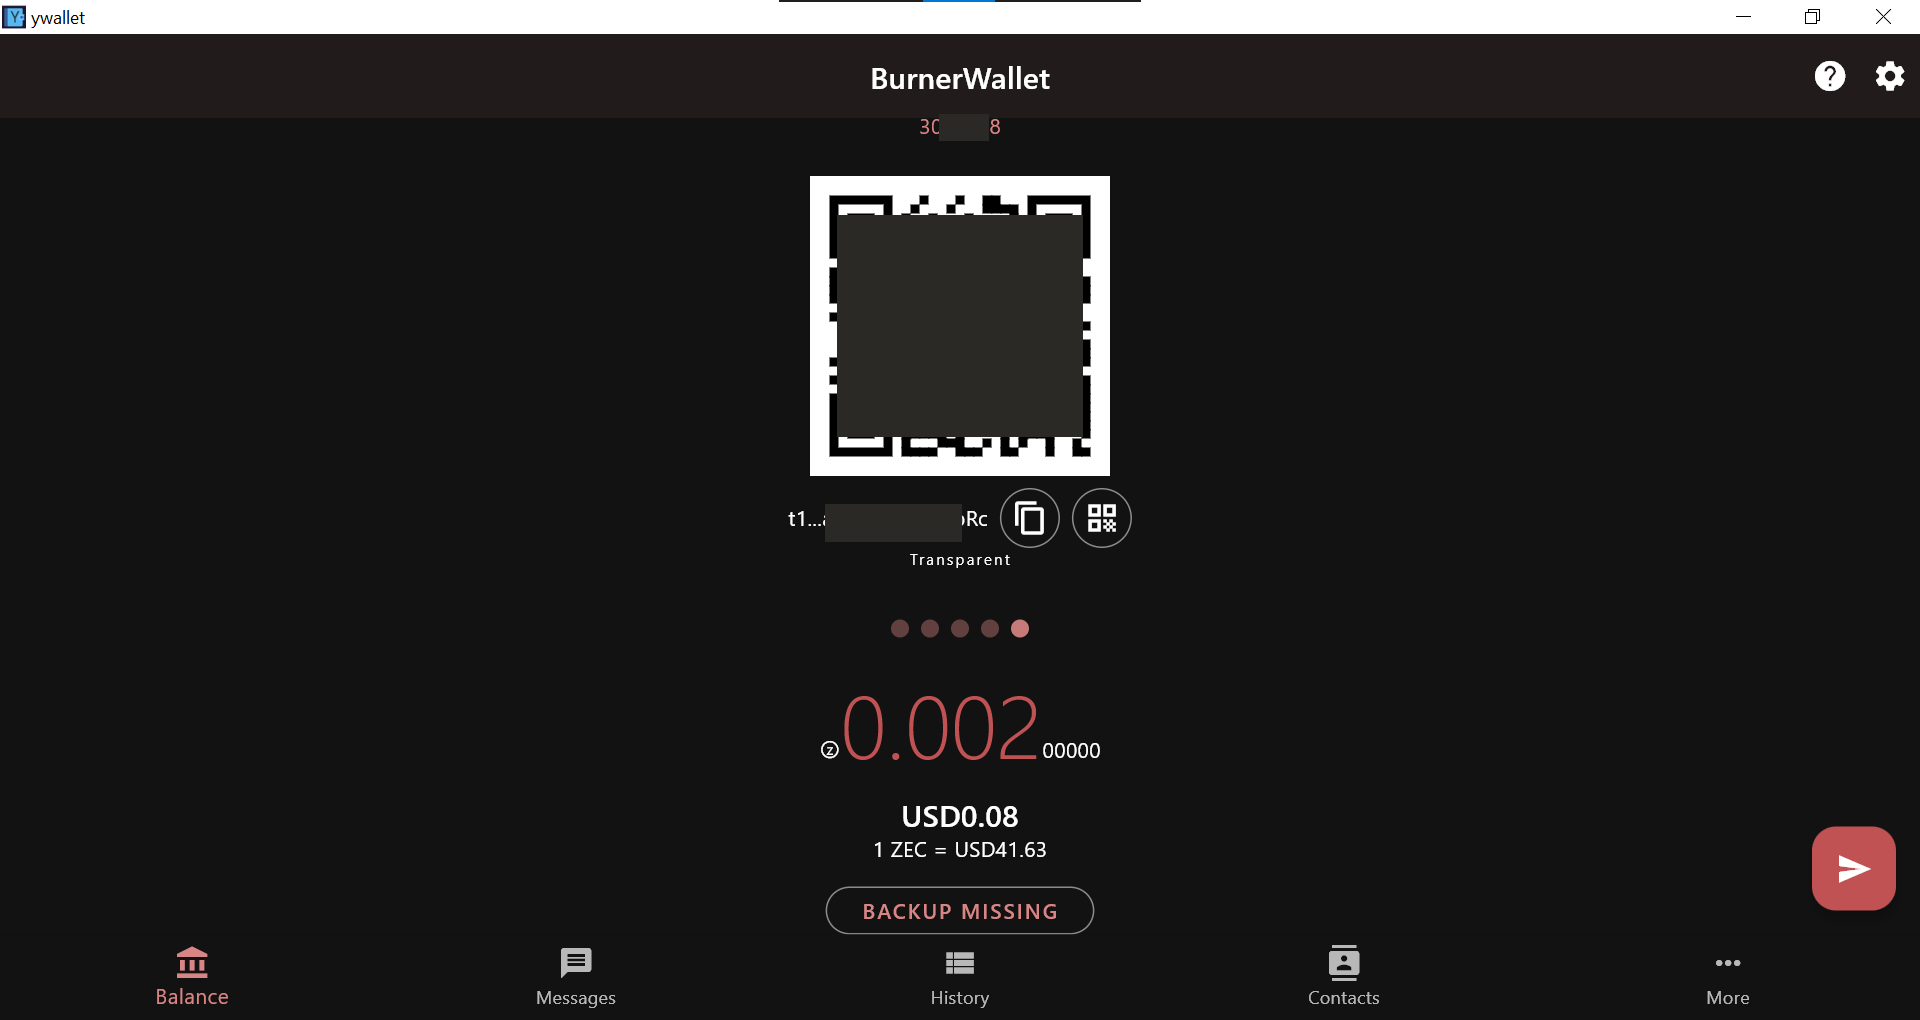
Now open the BurnerWallet and find your transparent address in the balance section.
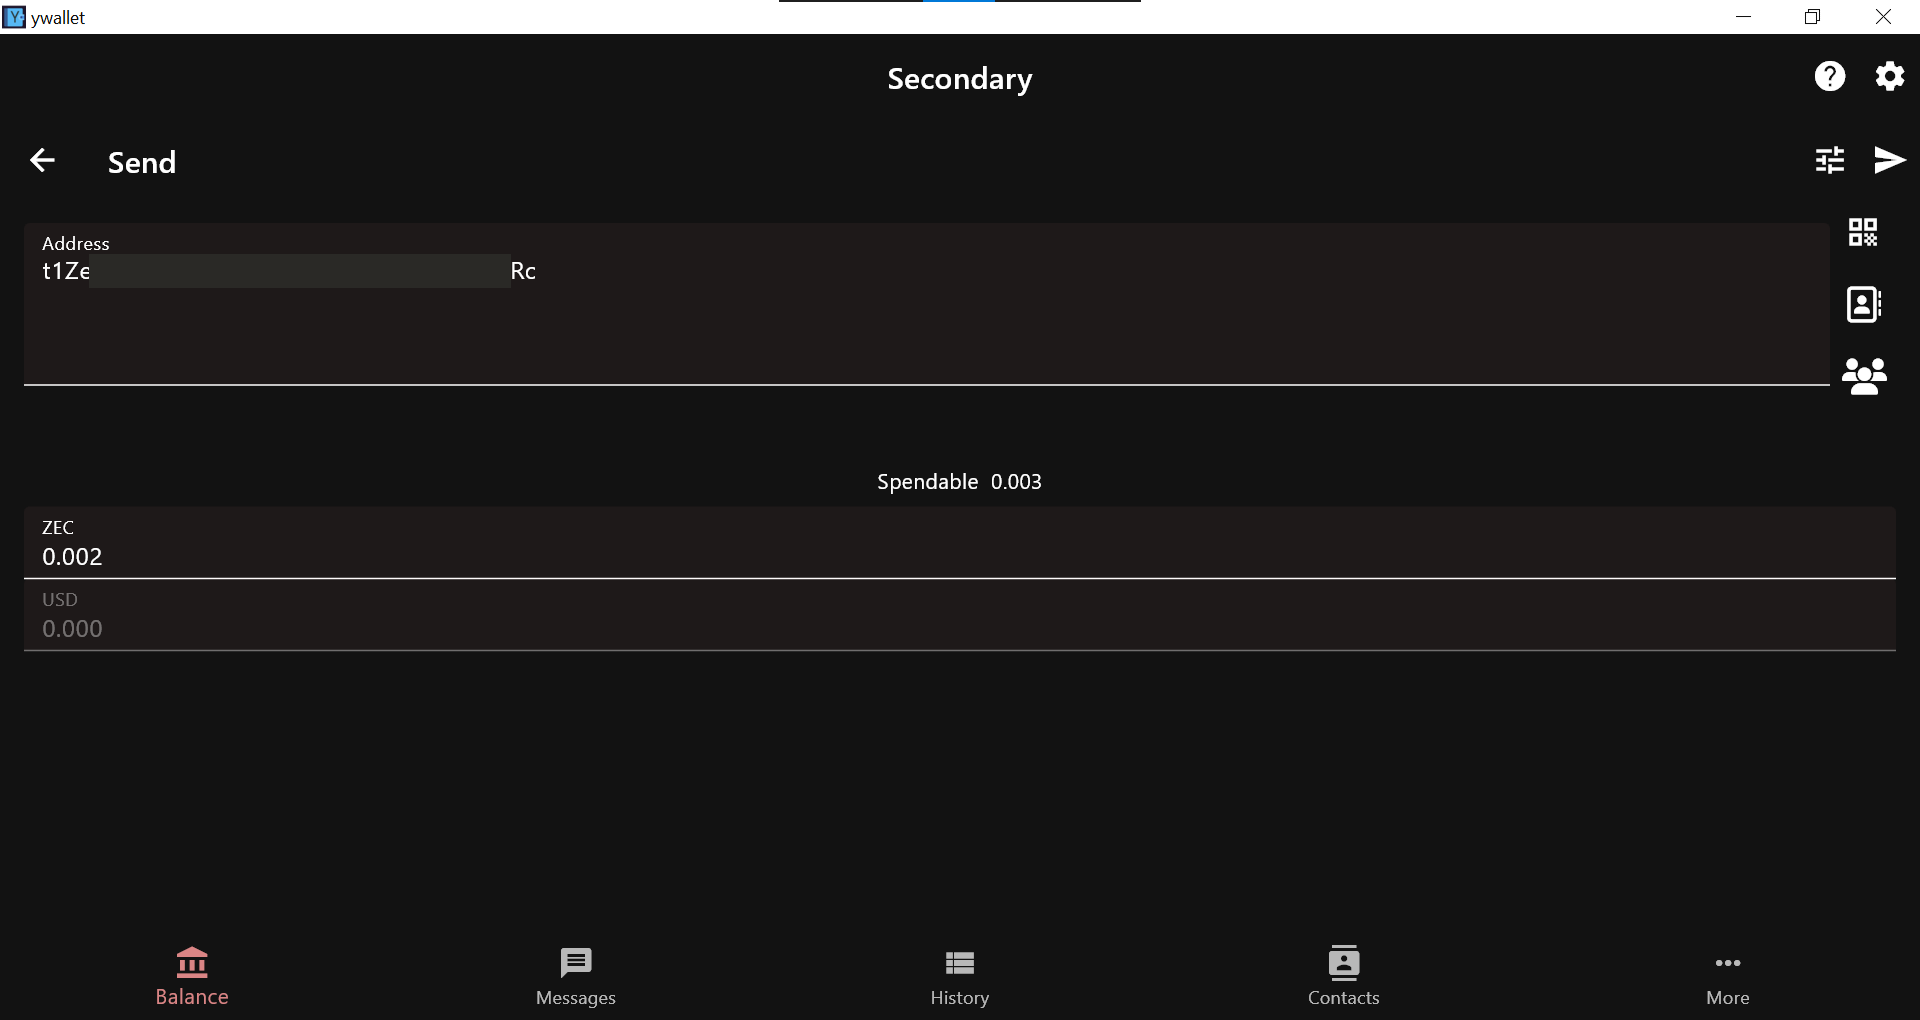
Switch to your secondary wallet and paste the BurnerWallet’s transparent address. Enter the amount.
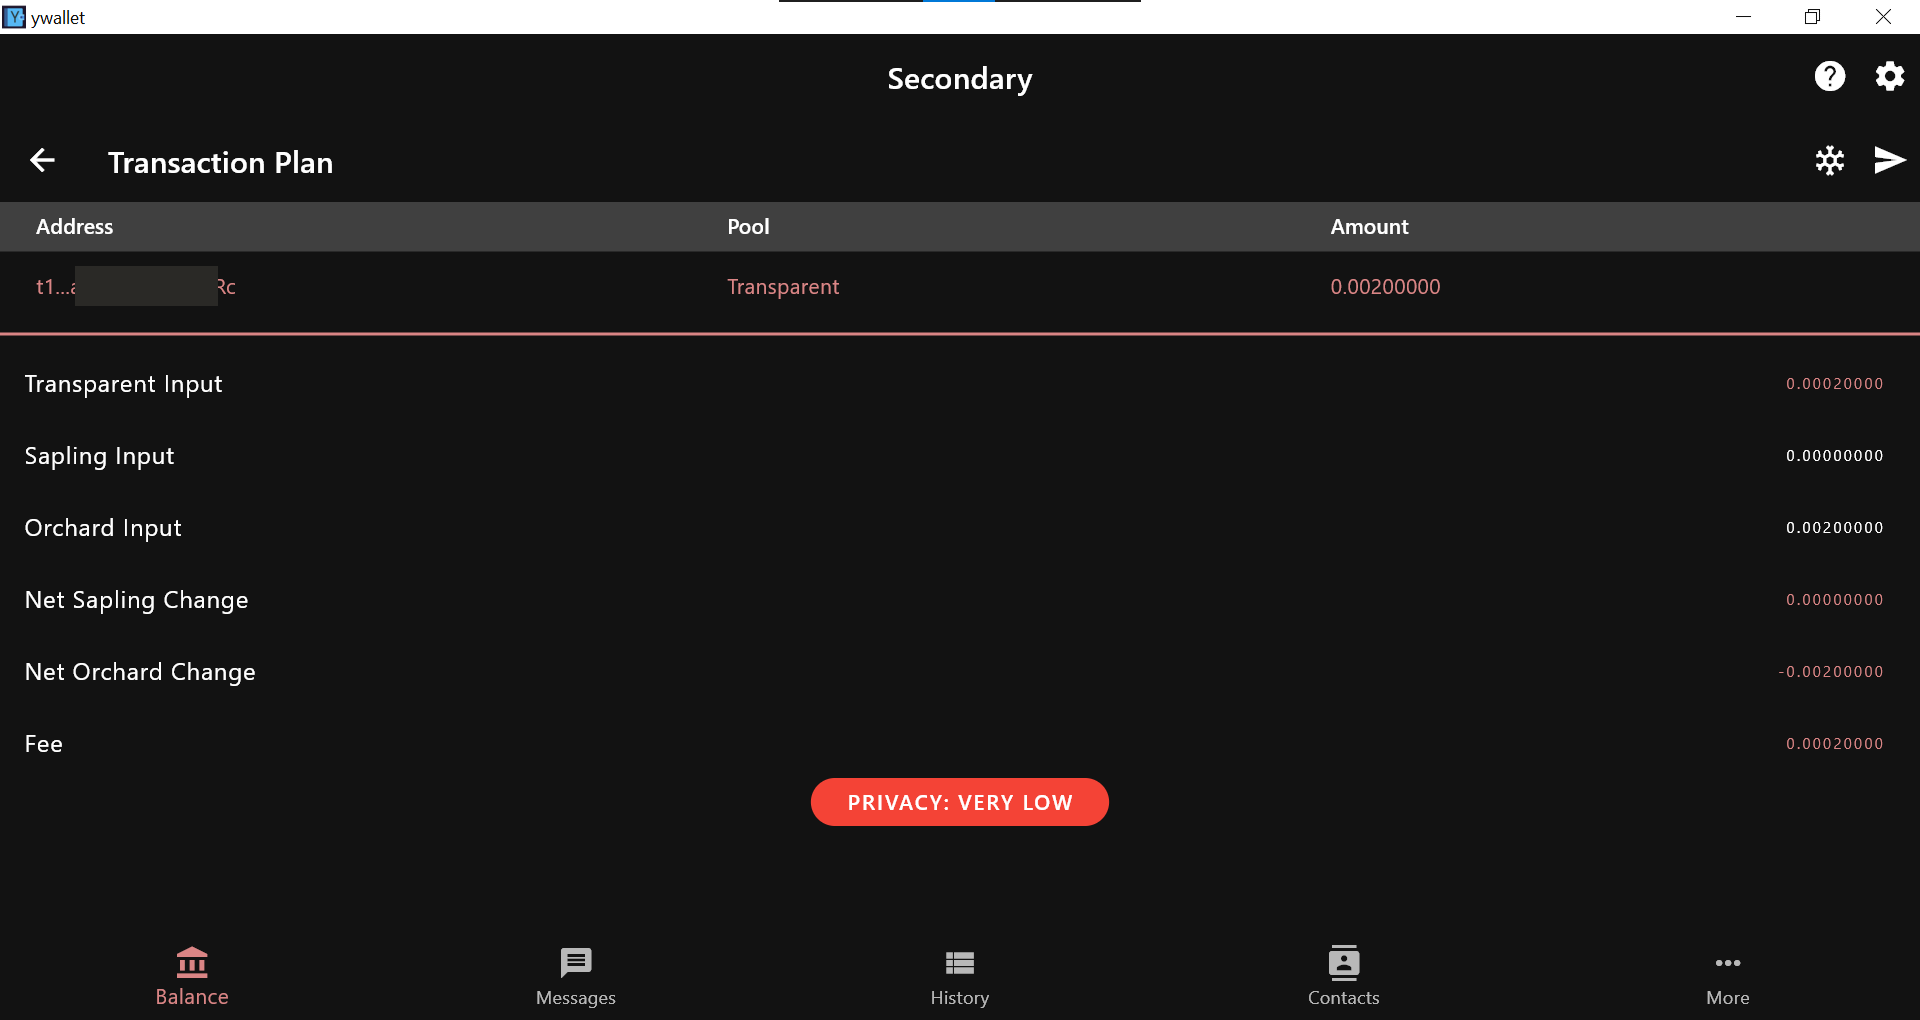
Confirm the transaction details.
Hit send and check the funds received in your burner account.
Copy the receiving address from your main wallet & Paste it into BurnerWallet and send it.
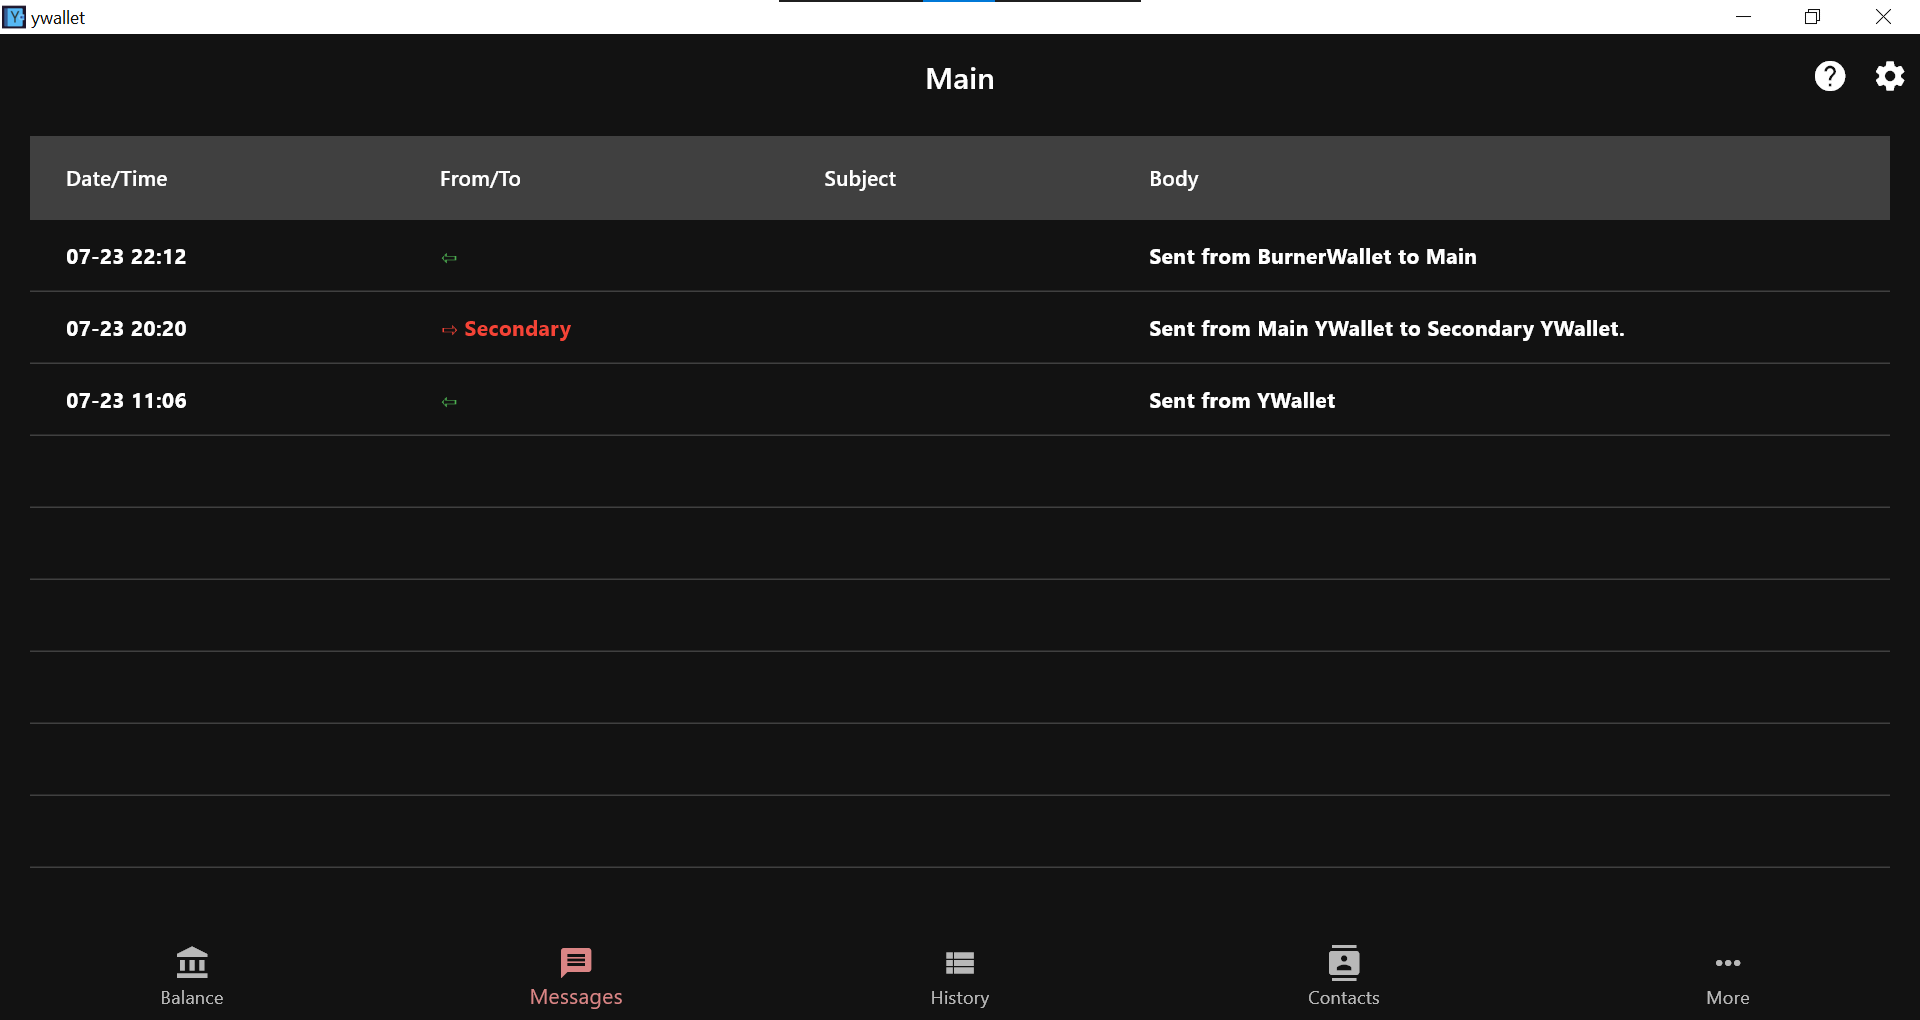
Funds reflected in main wallet.
That’s it. You just sent the funds without revealing any legit source!
5. Restoring Wallet from Seed
(never share it. Anyone with the seed can restore the wallet and access your money.)
Time to test the final backup method — restoring your wallet using the seed phrase.
Open your YWallet and go to More
Click on Seed & Keys
You’ll see your seed. Tap the save icon to generate a QR.
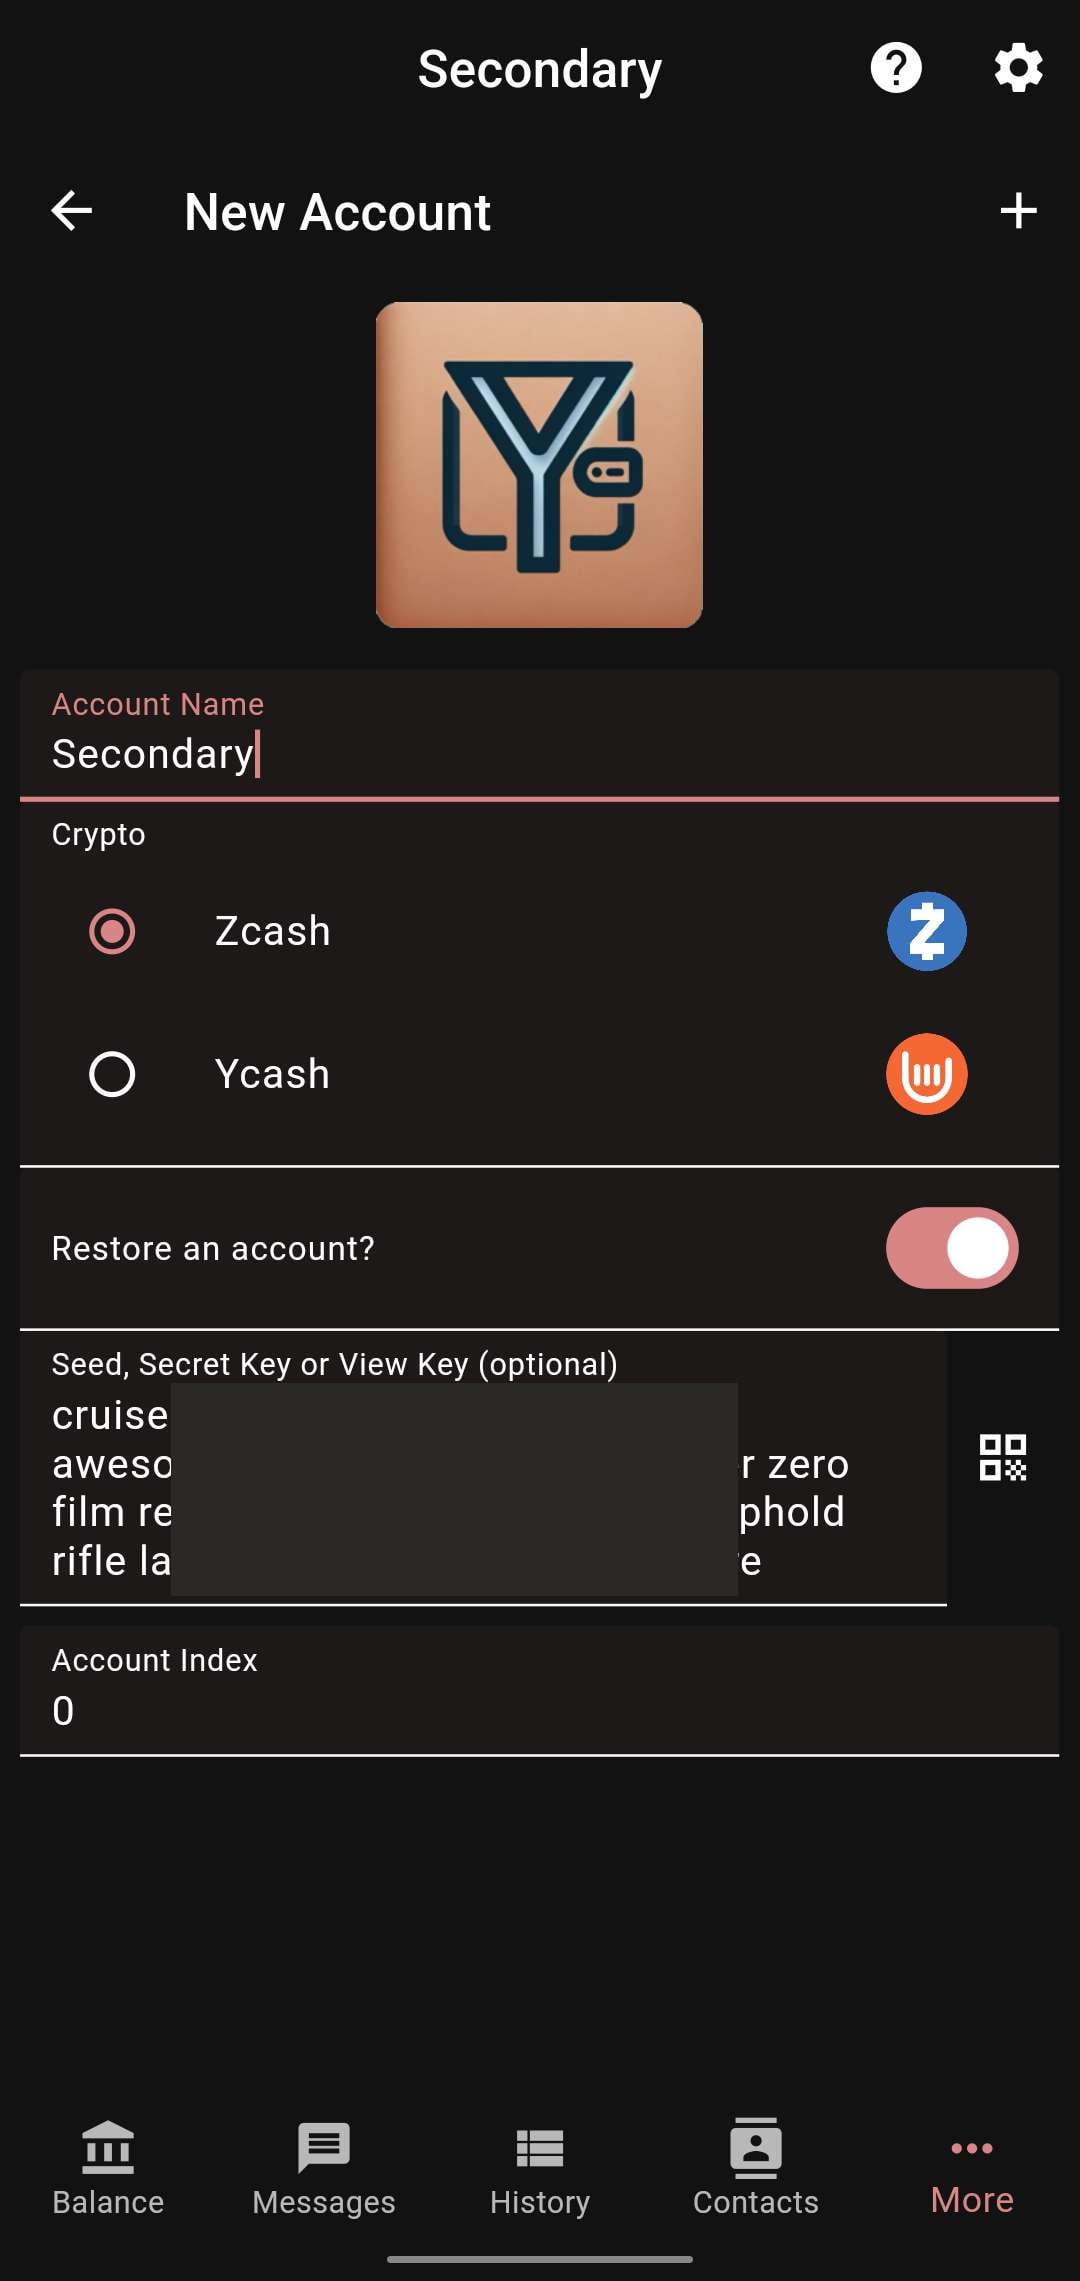
Now on another device (or same one after reinstall), open YWallet and tap “New Account”
Scan the saved QR code and give your wallet a name.
Your wallet will be restored with all the correct addresses and balance.
You can repeat this process with your other YWallets too.
That wraps up the full beginner tutorial on YWallet. I hope this post helps others understand how to actually use Zcash in a real-world, hands-on way!

